
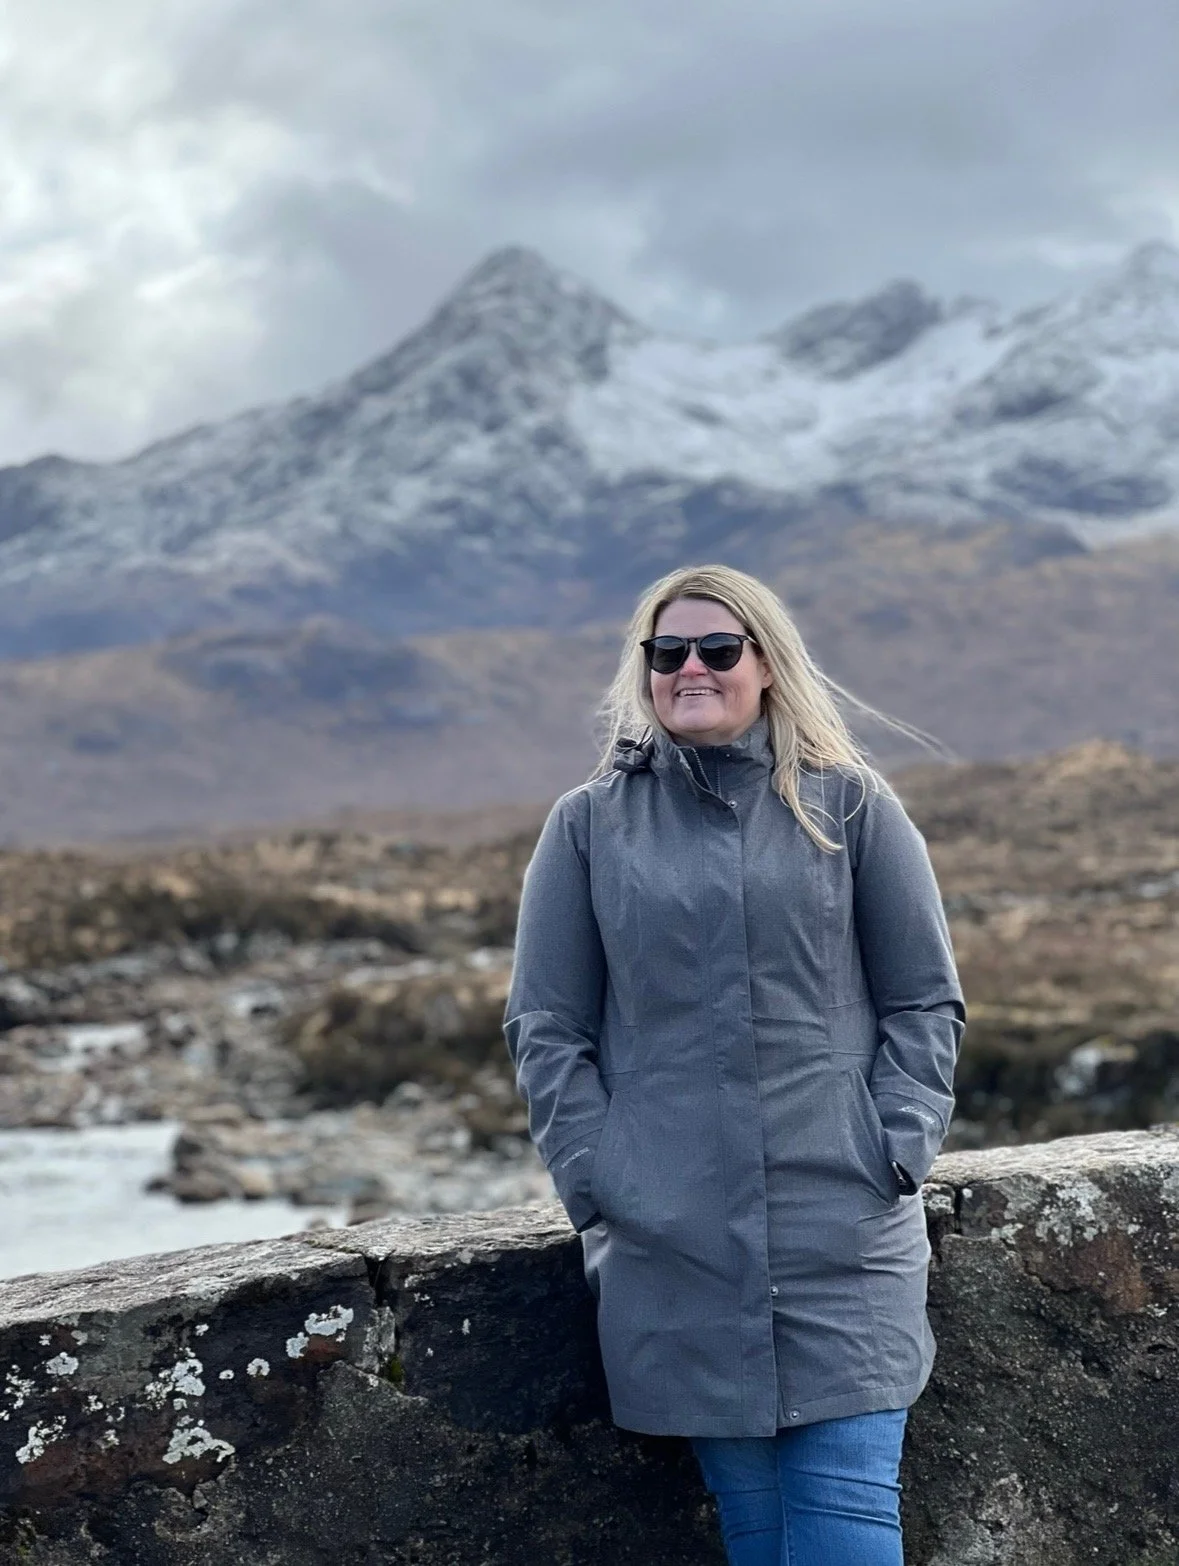
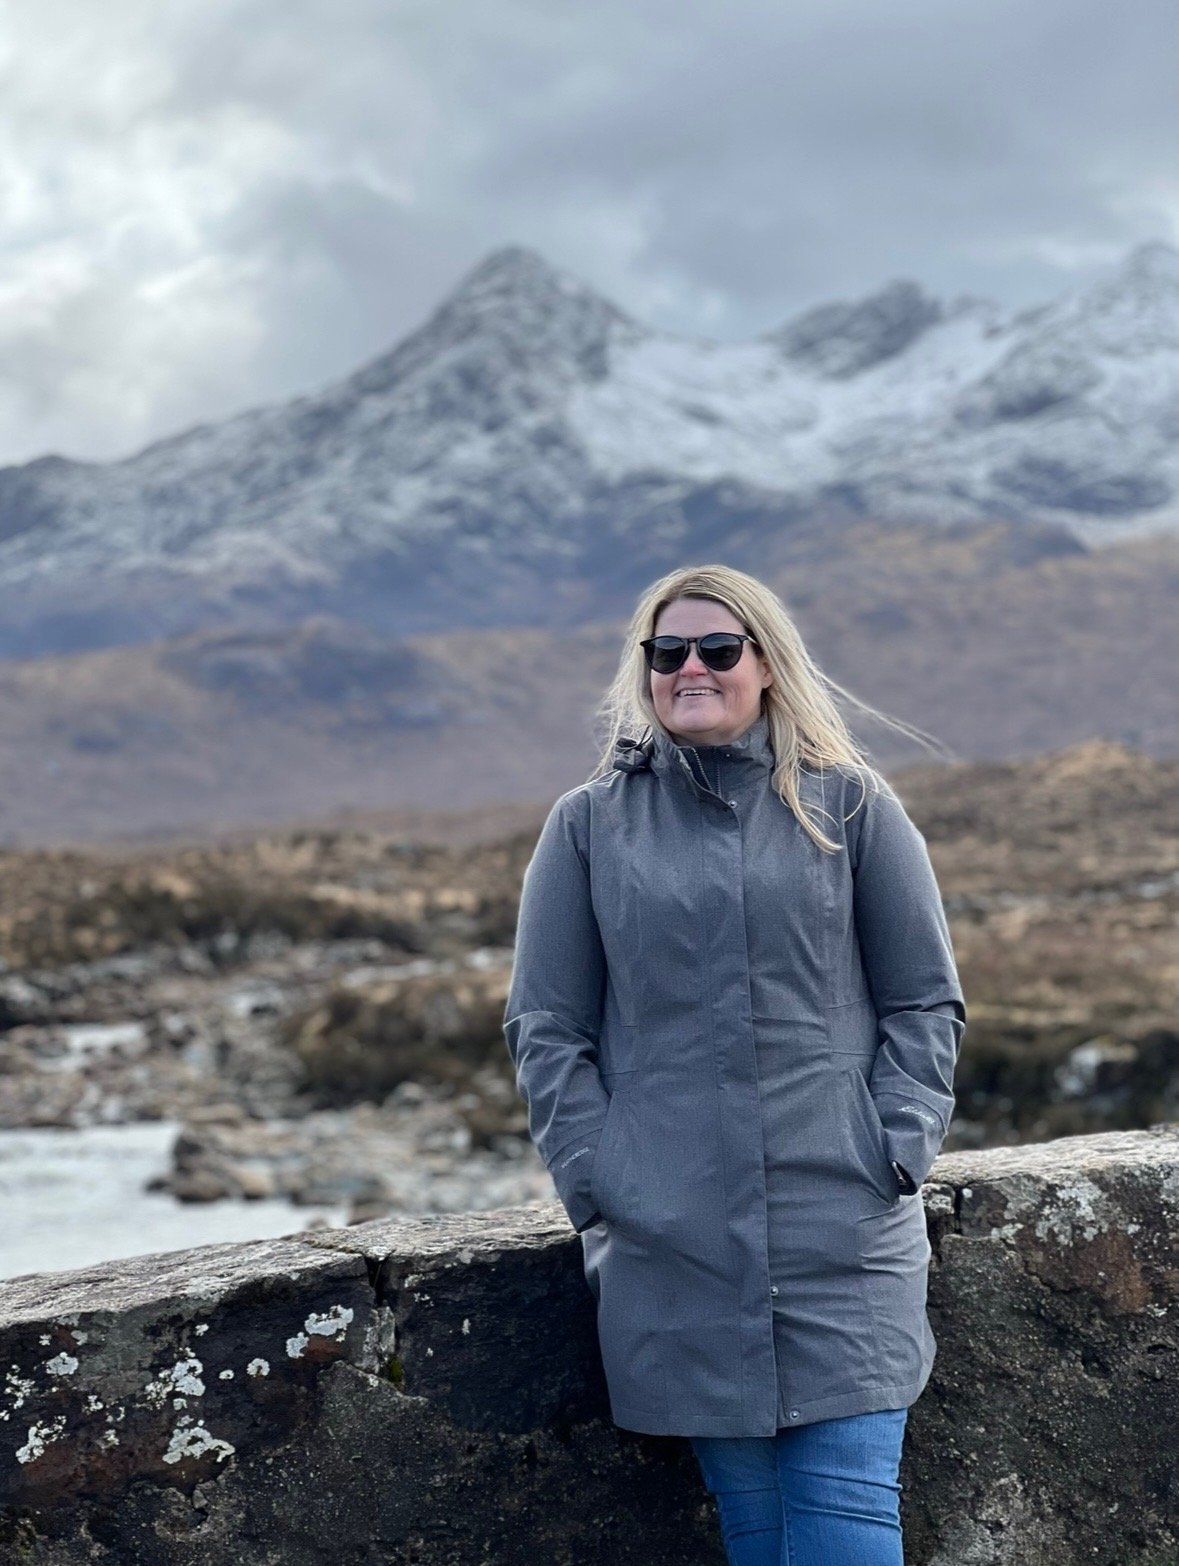
Before I began traveling with Land + See, I was a chaotic over-packer. Just prior to my very first trip with them, Mandy convinced me to look into bringing just a carry-on and personal item instead of checking a bag. Because we switched destinations throughout the trip, had to lug our bags over cobblestone streets, and often stayed in hotels without elevators, I decided to heed that advice. Here are some tips that I have learned and adopted after seven trips with Land + See.
General packing
-Carry-on only is your best friend. You can check your suitcase full of dirty clothes on the way back, but don’t risk losing your stuff on the way there.
-If you must check a bag, make sure your carry-on has a few days of clothes and all essentials (meds, contacts, money, etc.) in case your bag doesn’t make it to your destination with you.
-If you plan to bring home souvenirs or more items than you brought with you, pack a light tote bag in your suitcase/personal item to use as an additional bag (if you’re checking your suitcase on the way back).
-Convert any liquid you can into a solid (soap, deodorant, shampoo bars) so you can meet the TSA liquid limit for carry-on luggage. Every liquid/gel has to fit in one quart size bag, and no container can be more than 3.4 oz. If you throw away empty containers at the end of your trip it makes more room in your bag. Utilize the hotel toiletries if you’re not picky about products.
-Look into curating a capsule wardrobe so you can rewear pieces yet still make it look like different outfits. This is not as doable in the hot summer months.
-Find a packing method that works for you. Some people roll their clothes. I find that folding mine into squares works better for me. Some fit clothes to shape of their suitcase. There is no “best” way to pack clothes that works for every single person. Mess around with different packing strategies to make it work for you.
-I don’t use regular packing cubes because they don’t save space. I do bring a few to help organize my stuff when we go place to place. Compression cubes and vacuum seal bags are ideal if you do decide to organize your clothes that way.
-Wear your heaviest shoes, coat, etc. on the plane to save space in your luggage. I usually wear my walking shoes onto the plane and pack one pair of sandals in my suitcase for summer trips. I have a pair of slippers in my backpack to wear on the plane so I can take my heavy shoes off on long flights.
-If you’re bringing a hat, fill the inside of the hat to make better use of the space. Bras are a perfect example of something to put inside a hat. This can help maintain the shape of the hat and bras.
-Pack more underwear than you think you’ll need, especially on a summer trip. Many travelers end up taking two showers a day.
-It’s smart to have one clean outfit left on the return in case your flight gets delayed and you have to spend the night in Paris.
Medication
-Check to make sure your medications are allowed in the country you are visiting and get a doctor’s note if needed. Some countries are stricter than others (Japan) and do not allow certain medications no matter what.
-Bring copies of prescriptions. I’ve never been questioned about putting all of my medications in those daily reminder containers, but bring the medicines in the original bottles if you want to be safe. TSA does not require medications to be in the original packaging, but other countries might. From what I’ve seen, all over the counter meds, supplements, etc. can be mixed up in one container. Definitely put any controlled substances (ex: Adderall) in the original container. You may be asked about your meds at customs, but I have never run into that.
-If your medication is in liquid form you must notify TSA security before they scan your bags. This does not count against your liquids limit.
-You can never bring enough pain reliever. I bring more Ibuprofen each time.
-Bring any other over the counter meds that you might need (Dramamine for ferry/boat rides), as well as a small customized emergency kit.
Currency
-Order currency from your local bank before the trip instead of ATMs or the airport because your bank has a better exchange rate. Regions charges a $5 fee if you take out $250 or more. Ask for small bills to keep from having to break larger bills later.
-They rarely split checks in Europe so if you’re going with a big group be prepared to pay cash for dinners.
-Choose local currency (ex. Euros) on the pin pad if you pay with a card at a store or restaurant (better conversion rate).
-Don’t use your debit card! They charge you a fee for each swipe. Use a credit card or local currency.
Handy items
-Cotopaxi backpacks open like a suitcase and have a lot of organized space. The 28L Allpa is the perfect size for a personal item and fits sideways under the plane seat.
-Wear a money belt or fanny pack that’s attached in front of you so it makes it harder for pickpocketers to get to your stuff.
-If you are traveling in the summer, bring a handheld fan and/or a neck fan. I use both.
-Ziploc baggies and plastic grocery store shopping bags have a variety of uses during travel and take up no space.
International
-Check what type of outlet adapter you will need for the country or countries you will be visiting. Get a voltage adapter for things like hair styling tools unless they are dual voltage. I purchased an inexpensive hair straightener that is dual voltage so I can use it without an adapter. Hairdryers are pretty much standard in European hotels so leave yours at home.
-In hotels in Europe you have to put the key card in the slot by the door to turn the lights and air on. Many times you have to make sure the doors and windows are completely shut before the air will kick on.
-I learned the hard way in Scotland that many sinks in Europe have a drain plug in the sink that has to be pushed to be released. An embarrassing call to hotel staff oriented me to that difference.
-Get TSA Precheck if you fly more than once a year and Global Entry if you fly internationally. TSA Precheck will expedite your security process when leaving from the U.S. Global Entry will help you skip the long custom lines upon arrival to the U.S.
Land + See specific
-We usually go to 3 different hotels/locations so I like to put the clothes for the next destination in my backpack (personal bag) and rotate as we move so things are easier to find. Packing cubes can come in handy to help organize, but don’t expect them to save space.
-Bring one nice outfit in case we do a fancy dinner.
-Bring enough cash to cover your dinners on the trip. It is difficult to find a restaurant to split checks, especially with so many travelers, so adding your cash for what you ordered to the pot in the middle is the most efficient way to pay.
-Get out of your comfort zone and go with the flow. Some of my favorite travel memories happened when things didn’t go as planned.
-The strangers you meet while on the trip may become family to you. Many of us have become life-long (so far) friends and keep in touch long after the trip has ended.
